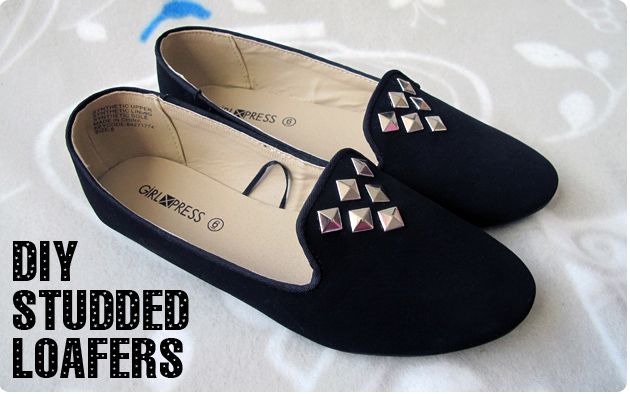
Are you a girly girl who wouldn't mind getting a little tough? If so, you're much like me! I can usually be found in cutesy ballet flats... But of late, have toyed with the idea of popping on some studded kicks and showing my inner wild child. Zara, Topshop and Jeffery Campbell have GREAT studden slippers you can buy online - but where's the DIY fun in that?
Today I'm going to show you how I transformed a plain pair of
loafer slippers into your new favourite shoes!
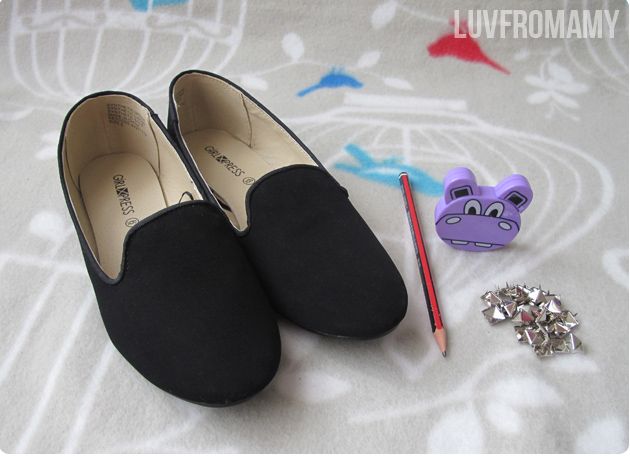
Things you'll need:
♥ Affordable pair of loafer slippers (I purchased mine from Aussie retailer, K-mart for $12. BARGAIN!)
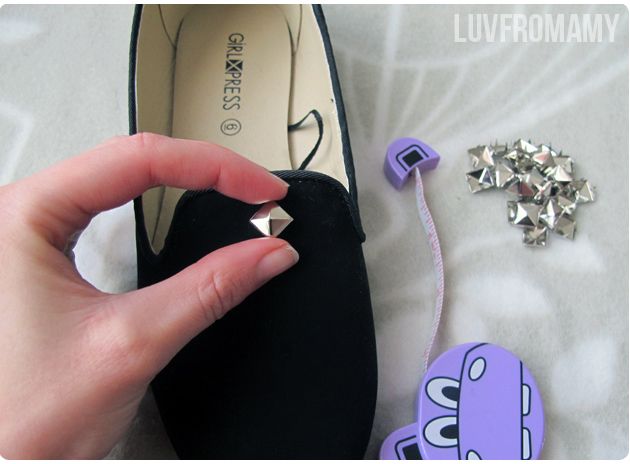
♥ 10mm Pyramid studs (eBay seller Beach Heya has a fantastic variety of studs at a nice price)
♥ Measuring tape
Take a good look at your current slippers, oh what a bore they are. Say your goodbyes because you are never going to look at these babies in the same way.
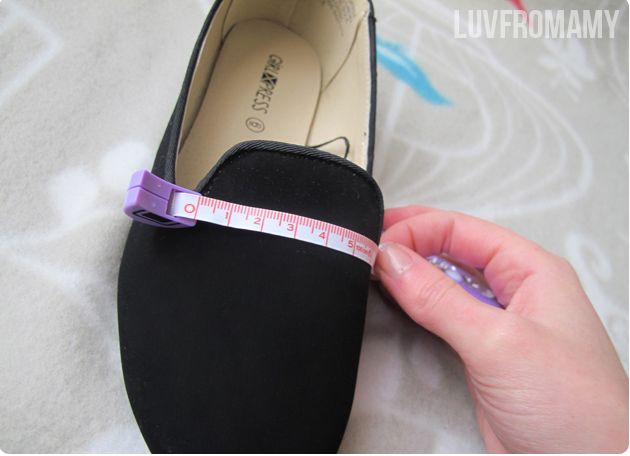
1. Measure the width of your shoe near the top section and mark the centre point with your grey lead pencil.
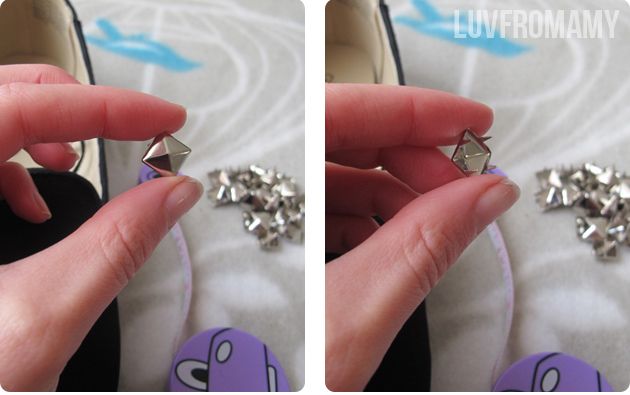
2. Take one of your 10mm pyramid studs and place where you marked with your grey lead. Gently push the prong spikes through the material of your shoe, remember - be careful of your fingers. When the stud is pushed through, carefully bend the back of the stud on itself (You may find a pair of small nail scissors helpful).
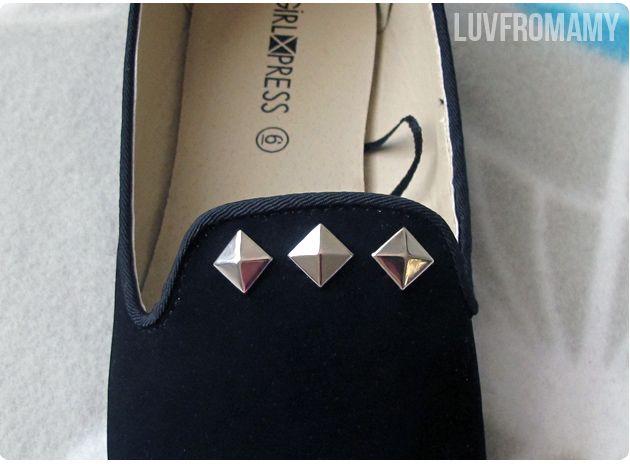
3. Evenly adhere 2 more studs (1 on each side) of the centre stud to create a straight line of 3 studs.
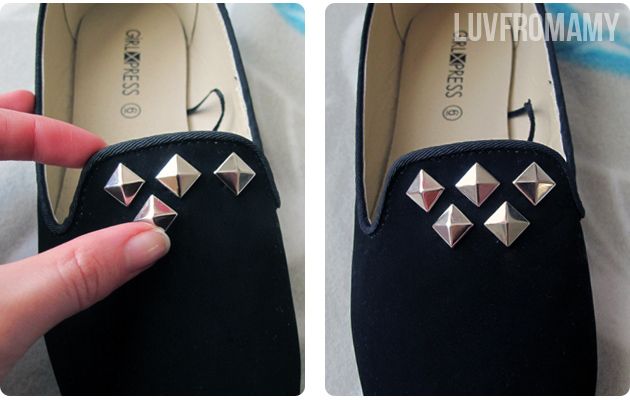
4. Place another 2 studs underneath the line of 3; leaving a small and even gap. Push and bend studs into place. You will now notice a slight triangle shape.
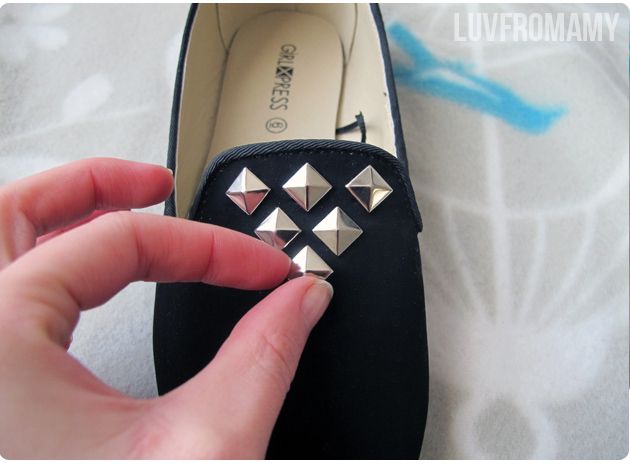
5. Centre 1 more stud underneath the 2 studs you just placed and yay, you have completed your first shoe!
6. Repeat on the other shoe.
Now you have your own DIY studded loafers! Hope you feel as badass as I did in these babies hehe!

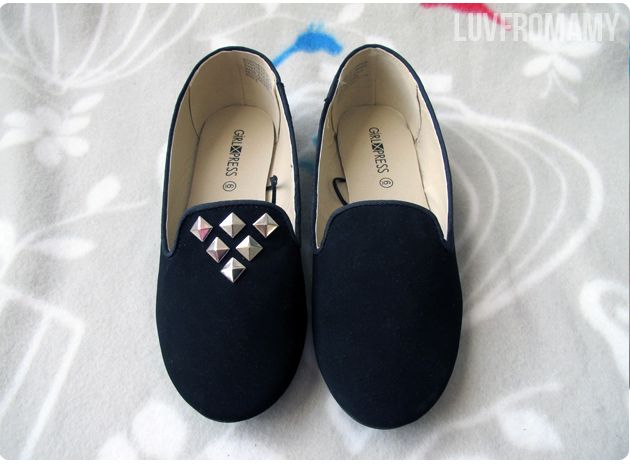
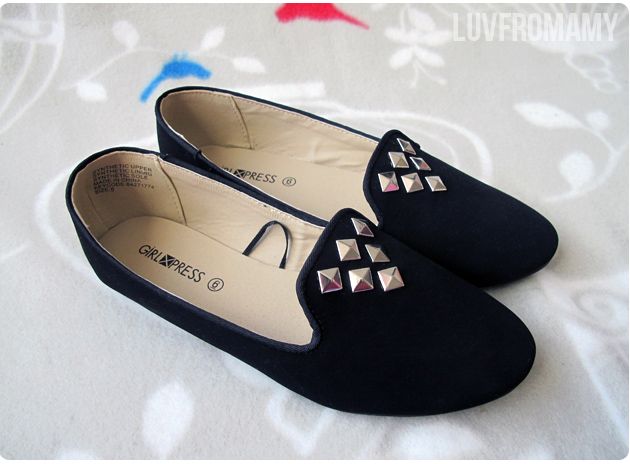

I love how clean and graphic they look, great job! PS- your blog is so cute!
ReplyDeleteThanks Erin, the lovely comment is much appreciated as this blog is fairly new :-) I was hoping people would <3 this cute and easy DIY.
DeleteKeep an eye out as there are more DIYs on the way ;-) I'm checking out your blog atm and it's super ace x
Amy